
In industrial and commercial Ethernet installations, the reliability of every RJ45 connection directly impacts network uptime. This article provides a hands‑on, procedure‑driven overview of how to verify connector quality in the field, spot common failure modes, and apply preventive measures—without relying on vendor hype or over‑engineered claims.
Why Field Testing Matters
Many network failures are traced back to seemingly minor connector issues: a slightly bent contact, insufficient wire insertion, or environmental degradation that wasn’t caught during installation. For B2B integrators and OEMs, having a quick, repeatable testing routine reduces warranty calls, improves customer satisfaction, and protects your brand’s reputation.
Key Performance Parameters to Verify
- Contact resistance: Should be ≤ 0.1 Ω per IEC 60512‑5; higher values indicate oxidation or poor crimping.
- Insulation resistance: Between conductors and between conductor and shield; > 100 MΩ is typical for good quality plugs.
- Mating cycles: Rated ≥ 750 cycles (IEC 60603‑7); repeated plug‑unplug should not degrade performance.
- Temperature range: ‑40 °C to +85 °C for industrial plugs; verify that the housing material (usually Japanese PC, UL94V‑2/V‑0) shows no cracking or deformation after thermal cycling.
- Shielding continuity (STP): Metal housing must provide electrical continuity across all 8 contacts; a break creates an open‑circuit shield and worsens EMI performance.
Common Failure Modes (What to Look For)
| Failure mode | Typical cause | Field‑detectable sign |
|---|---|---|
| Intermittent link loss | Partial crimp, wire not fully seated | Link drops when cable flexes |
| Visible contact oxidation | Gold‑plating wear, high humidity | Discolored or dark contact blades |
| Cable pull‑out | Insufficient wire insertion depth, missing strain‑relief boot | Cable pulls out easily without tool |
| EMI‑induced errors | Shield discontinuity, unshielded plug with STP cable | Increased packet loss near motors/VFDs |
| Insulation breakdown | Nicked insulation during stripping, poor jacket seating | Insulation resistance < 10 MΩ in test |
Step‑by‑Step Field Testing Procedure
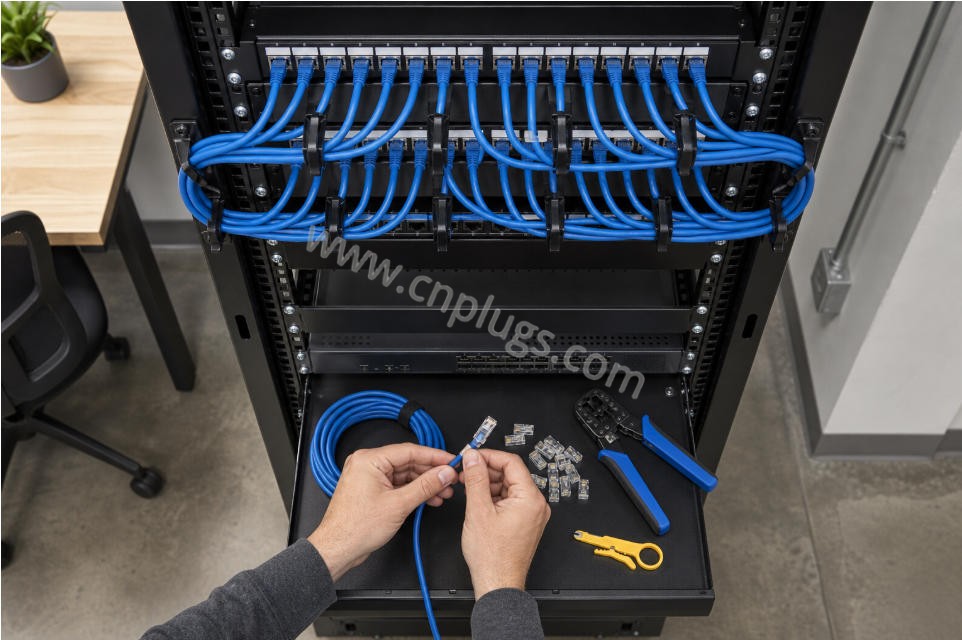
- Visual inspection: Check that all 8 wires extend 0.5–0.8 mm past the contact fingers; no nicks in insulation; cable jacket seated against the plug’s cable gland.
- Continuity test: Use a digital multimeter or a dedicated RJ45 cable tester to verify pin‑to‑pin continuity; all 8 pairs should show < 0.5 Ω resistance.
- Contact resistance measurement: If a lab multimeter with a 4‑wire (Kelvin) mode is available, measure across each contact; record values and compare to the ≤ 0.1 Ω benchmark.
- Insulation resistance test: Apply 100 V DC (or use a insulation resistance tester) between conductor pairs; acceptable reading > 100 MΩ at 25 °C.
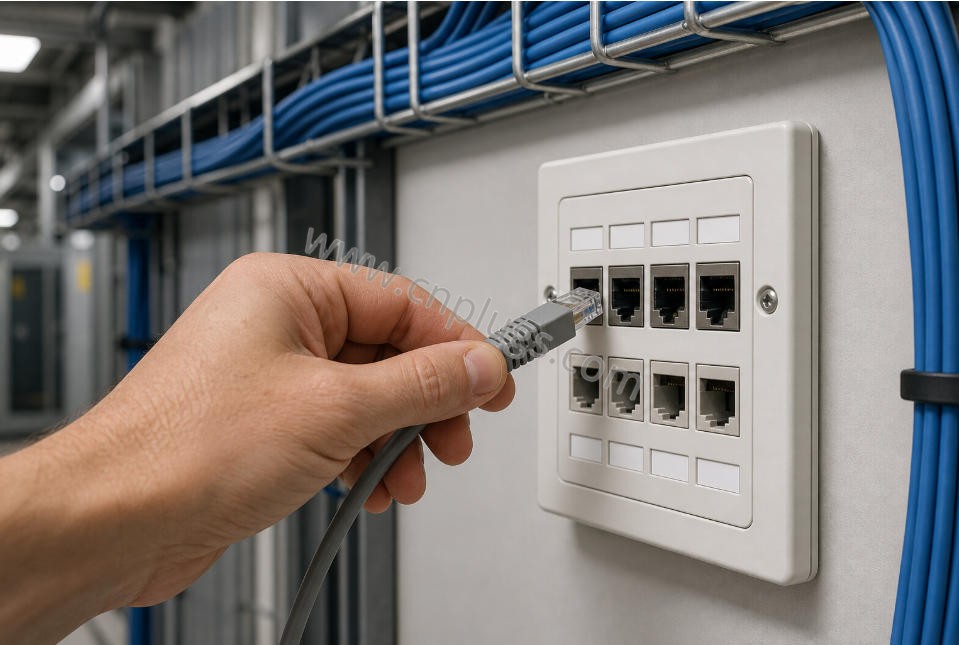
- Insertion/withdrawal test: Plug and unplug 10 times; verify no loose contacts, no bent blades, and that the latch mechanism functions smoothly.
- Environmental quick check: If possible, expose the plug to ‑10 °C/+40 °C for 15 min then re‑test resistance; significant drift may indicate material quality issues.
On‑Site QC Checklist (Print‑or‑Save)
- □ No visible damage to the housing or gold‑plated contacts.
- □ Continuity test: all 8 pins pass.
- □ Contact resistance ≤ 0.1 Ω (or manufacturer‑specified).
- □ Insulation resistance > 100 MΩ (or per IEC 60512).
- □ Strain‑relief boot installed and secure.
- □ Label matches purchase order and part number.
Environmental & EMI Considerations for Industrial Installations
In factory floors, temperature swings, mechanical vibration, and electromagnetic interference from variable‑frequency drives are the biggest reliability threats. Practical mitigations include:
- Use shielded RJ45 plugs (STP) when the cable itself is shielded; ensure the plug’s metal housing makes 360° contact with the cable’s shield.
- Route cables away from high‑current power lines; maintain minimum separation distances per IEC 61000‑5‑2.
- Select plugs with UL94V‑0 housing and a temperature rating that exceeds the maximum ambient by at least 20 °C.
- Apply cable management (trays, clips) to reduce vibration‑induced movement at the termination point.
- For outdoor or corrosive environments, choose plugs with enhanced gold‑plating (50 μ″) and sealed or gasketed cable glands.
Quick Troubleshooting Table
Use the following when a link‑loss complaint comes in:
| Symptom | Likely cause | First‑step fix |
|---|---|---|
| Link drops when cable moves | Lope‑contact or insufficient wire insertion | Re‑terminate; verify wire protrusion. |
| Slow link negotiation (10 Mbps instead of 1 Gbps) | Cat6 plug used with Cat5e cable, or vice‑versa | Match plug category to cable category; re‑test. |
| Intermittent PoE shutdown | Contact resistance increase under load | Measure resistance under PoE load; replace if > 0.1 Ω. |
| High BER (bit error rate) | EMI from nearby equipment, shield gap | Re‑route cables, add shielding, verify plug‑shield continuity. |
Related Internal Resources
- How to Choose the Right RJ45 Plug for 23 AWG, 24 AWG, and 26 AWG Cable
- RJ45 Gold Plating Guide: 3μ, 15μ, and 50μ Contacts
- UTP vs. STP RJ45 Plugs: When Should You Use Shielded Connectors?
- Toolless Field Termination RJ45 Plugs: A Practical Guide for Industrial Installations
External Reference (Wikipedia)
For foundational knowledge on the connector’s geometry and standard pinout, see:
This guide is intended for integrators, OEM engineers, and B2B buyers who need concrete, repeatable methods to verify RJ45 connector quality in the field. If you would like a printed QC checklist, a quotation for PROUNTA‑grade plugs, or assistance embedding these testing steps into your own SOP documentation, please contact our technical team at +86‑134‑2850‑9915 or visit our product catalog.
 WeChat ID: